I am back from a
FABULOUS crop with the 54 other ladies attending the
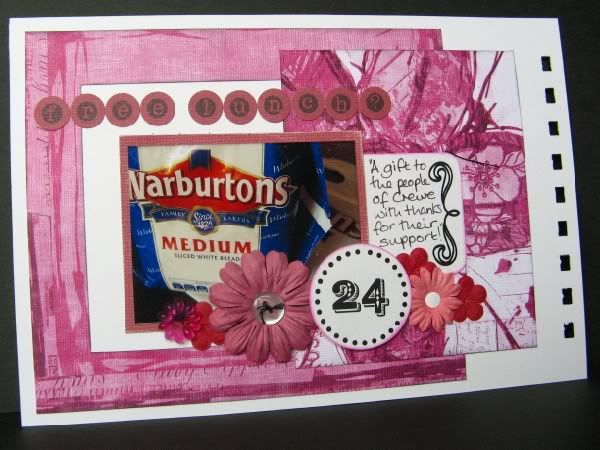
5th Pink Booby Crop in aid of
Breast Cancer Research. Five other very talented class designers helped provide plenty for everyone to do, though I doubt very much if anyone did every class - there was just
so much going on, including Irish Bingo, stash shopping with 4 different and well stocked shops, a Chair Raffle, chatting with friends, old and new, yummy meals laid on, a visit from the Soroptimists collecting unwanted bras (!), naughty cakes and, most deliciously, I managed to get a little slice of heaven, a.k.a. Malteser Cheesecake.
A big
THANK YOU to all the organisers on the committee (the Pink Marigolds) for all their hard work - I hope you've raised LOTS of dosh for charity, and here's to the next one LOL!
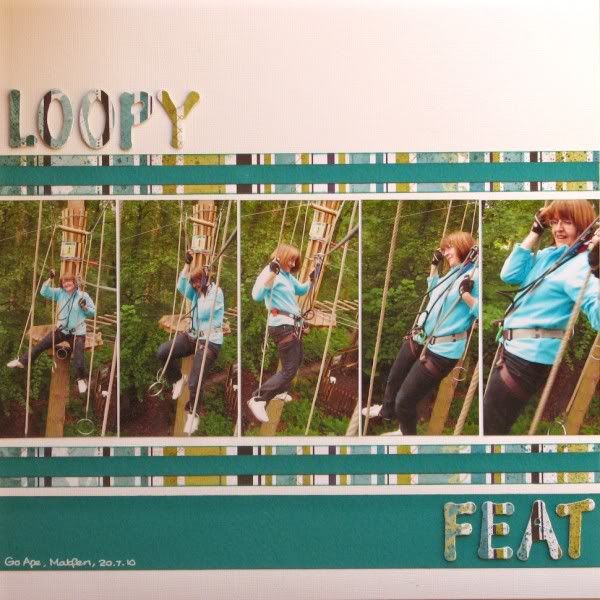 |
| I think I'm seriously too old for the loop crossing at Go Ape! |
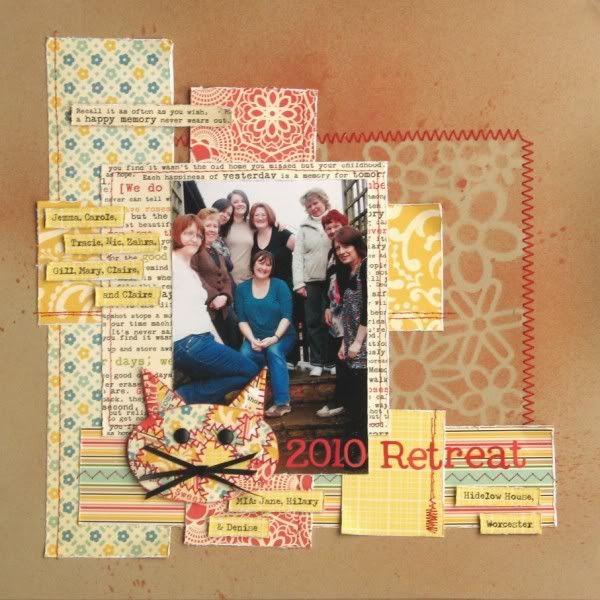
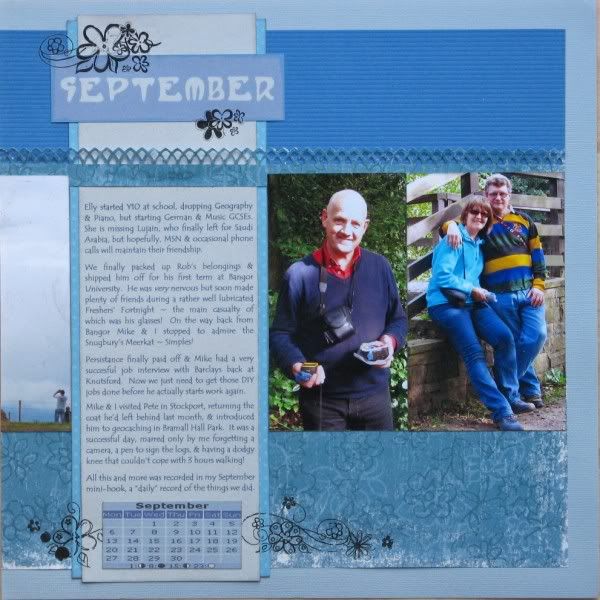
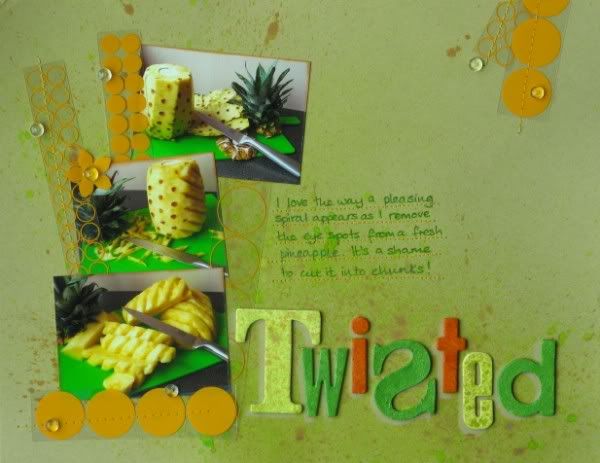
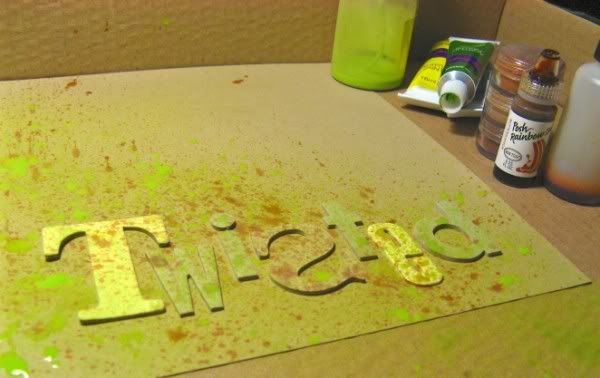
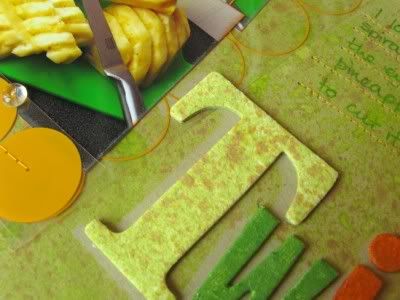
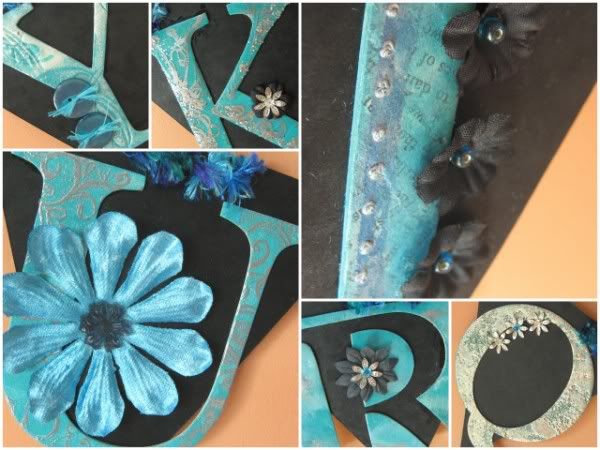
I taught a technique class called "Ways With Chipboard" about various ways to make grey chipboard more interesting. One technique was to cover alphas in patterned paper whilst maintaining the pattern. Today I took it a step further for the demo and matched the title to the rest of the page as well.
The elements for this page have been ready and waiting for the class for ages - apart from the alpha sanding it's super quick to make - can you tell which of the "O"s started life as a "Q"?
I also gave a demonstration of various Ultra Thick Embossing Enamel (UTEE) techniques and supervised the ladies experimenting afterwards - we managed with only one finger in the super-hot UTEE, poor Roxy! I bought my class supplies from
Imagination Crafts, who kindly knocked £10 off the bill in aid of the fundraising. I have to say that I was really, really impressed with the qualities of their own brand
"Magi Boss Chunky" UTEE - a lovely range of colours, and very reasonable priced, especially considering that it seems to cover in fewer layers and has a built in flexibility compared to another well know brand, so
no cracking once it cools!
 |
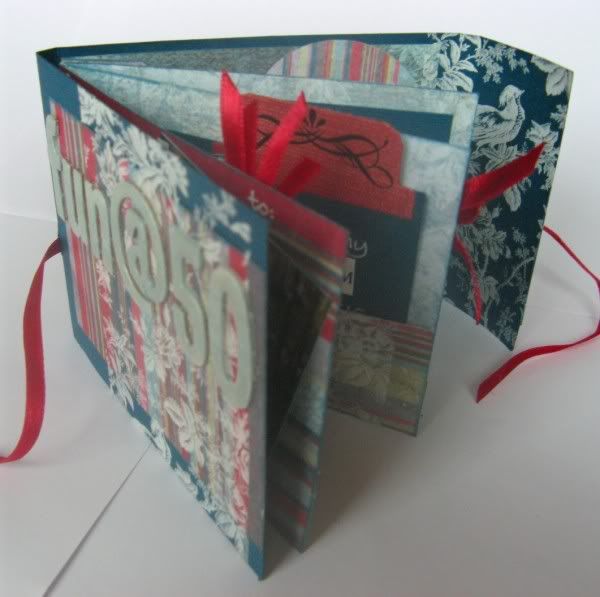
| Canvas for M - don't you just love the mini CD! |
Despite all the inspiration on tap I took time out to finish a canvas inspired by Sarah Carrington's class on the Green Buttons House Mini-CC over on UKS. Funnily enough it's covered in all sorts of decorated chipboard, including the "M" which was used in a demo for my class.
The colour photos had been stripped from the instructions for my class instructions in the interests of printing economies, so for those that fancy a peek I have uploaded them
here. Have fun Pink Boobies!
Some, more sensible?, people went home for a sleep, and some, completely mad? ladies stayed up
ALL night. I was somewhere in between and managed to grab a couple of hours sleep (on the floor of the separate bedroom) during the 24 (well 26 by the time I left) hours. I'm now feeling definitely sleep-deprived and my comfy bed will be
very welcome tonight!